How to Unlock the Bootloader and Root the OnePlus 7 Pro
Step 1 – Enable OEM unlocking
You need to enable OEM unlocking, which can be done by enabling the developer settings on your device. To do so, go to Settings > About phone and repeatedly tap Build number. Developer options will then be added to your system settings, where you can then enable OEM unlocking.
Step 2 – Unlock your phone
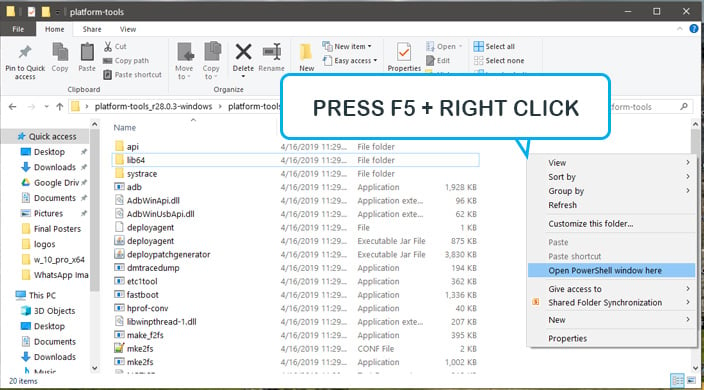
Set up adb, reboot into your bootloader, and run the following command. Yes, it’s really that simple!
fastboot oem unlockYou can reboot into the bootloader by switching on USB debugging, setting up adb and fastboot and typing “adb reboot bootloader”. Alternatively, you can hold volume down and the power button to boot up your device. USB debugging is also located under the developer options.
Step 3 – Boot TWRP
Next, you need to flash TWRP. You’ll need to get both the bootable image file and then the corresponding installer zip. You can find both below.
Once you have those, boot into fastboot and run the following command.
fastboot boot twrp_file_name.img
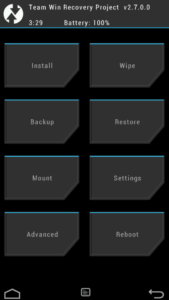
You’ll now be booted into TWRP, where you should flash the TWRP installer zip file. Boot into OxygenOS now.
Step 4 – Flash Magisk
Once you’re booted into OxygenOS, reboot back into recovery again and flash Magisk.
Step 5 – Installing OTAs
Installing an OTA will require you to go through this whole process again. Thankfully, Magisk has a feature for A/B devices like the OnePlus 7 Pro that lets you flash Magisk to the other slot after an OTA, so that you don’t lose root access. If you want to read more about A/B partitioning, you can here. All you need to do is install the OTA as usual (don’t reboot), then open Magisk Manager, tap install and tap “Install to inactive slot”.
However, you have now lost TWRP by installing an OTA. To get around that, you can actually flash the regular TWRP installer zip like a Magisk module. Don’t reboot yet. Because we flashed TWRP, if you reboot you will lose root access. Go back to the Magisk home page, select install, then select both direct install and install to the inactive slot.
For those with a OnePlus 7 Pro bought through T-Mobile
If your OnePlus 7 Pro was bought through T-Mobile, then you will only be able to unlock your device after you’ve paid it off in its entirety and used it on T-Mobile’s network for forty days. After that, you can unlock the bootloader through OnePlus’ online form. Next, follow the following steps to unlock your bootloader.
Step 1 – Enable OEM unlocking
You need to enable OEM unlocking, which can be done by enabling the developer settings on your device. To do so, go to Settings, About phone and repeatedly tap Build number. Developer options will then be added to your system settings, where you can then enable OEM unlocking.
Step 2 – Get your IMEI
Get your phone’s IMEI by dialing *#06# in your phone’s dialer. The IMEI code will show up. You will need this for T-Mobile’s form later on.
Step 3 – Get your unlock code
Reboot into fastboot mode on your device. You can reboot into the bootloader by switching on USB debugging, setting up adb and fastboot and typing “adb reboot bootloader”. USB debugging is also located under the developer options. Alternatively, you can hold volume down and the power button to boot up your device. Next type “fastboot oem get_unlock_code”. Take this code down, as you’ll also need it for T-Mobile’s online form.
Step 4 – Fill out the online form and flash your token

Step 5 – Unlock and root
Now you can just unlock your phone the exact same way as the regular OnePlus 7 Pro! Simply just type “fastboot oem unlock” and you’re good to go! Now you can follow the steps for a regular, unlocked OnePlus 7 Pro to root your device. Those are detailed above.